This is a quick guide to get you started. Once all your products are added and you’re used to the steps, this routine just takes a couple of seconds a day.
Once you start using the Wear and Clean functionality the Reporting tab starts becoming very useful as well. It starts to give you interesting insights into your wardrobe.
If you have any questions at all regarding the functionality please drop me a message through the Contact page.
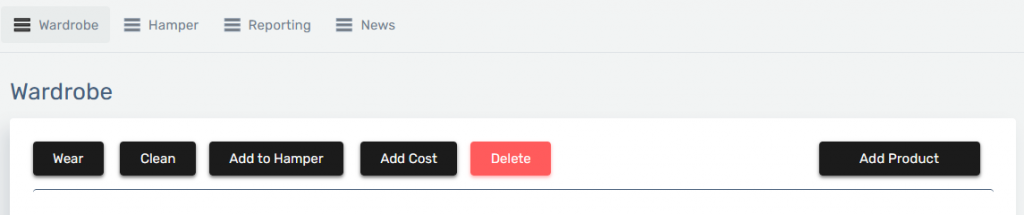
When you first log in you are met with this set of Menus and Buttons. So far so good, but everything is blank! Great, you are now ready to start adding products to your Wardrobe…
Step 1) Click on Add Product located on the Right Hand Side
Step 2) You are now on the Add Product page. This is where you add products that are in your Wardrobe.
Once you have filled in the required information you will need to click on the Save button located towards the bottom of the page.
NOTE: Average Cost Per Clean, Average CO2 Impact Per Clean and Average Water Use Per Clean are optional. However if you are interested in populating them I have created a calculator you can use to generate approximate figures here [https://meetyourwardrobe.com/product-impact-calculator/]
NOTE: Most of the analytics are driven by the information you add on this page. So the more information you add the better.
Step 3) As you add your products they will start becoming available in the wardrobe section. At this point you are all set to start using all the functionality in Meet Your Wardrobe!
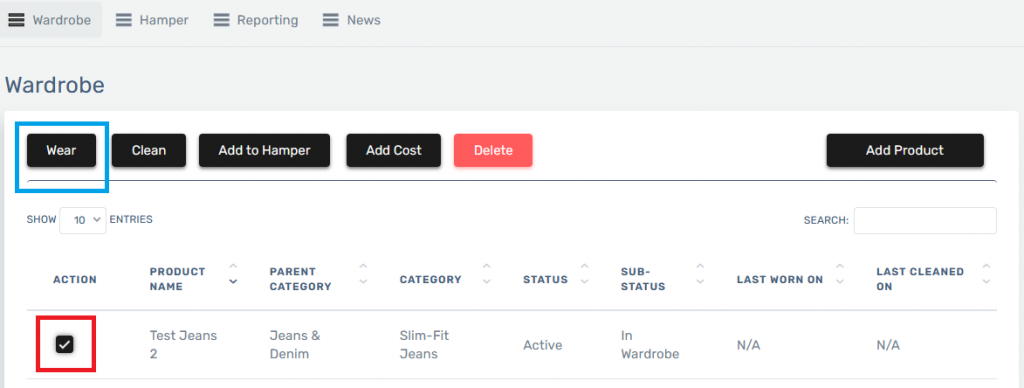
i. To begin with, every time you wear something, select the product by selecting the Action checkbox [highlighted in red].
ii. Now click on the Wear button [highlighted in blue].
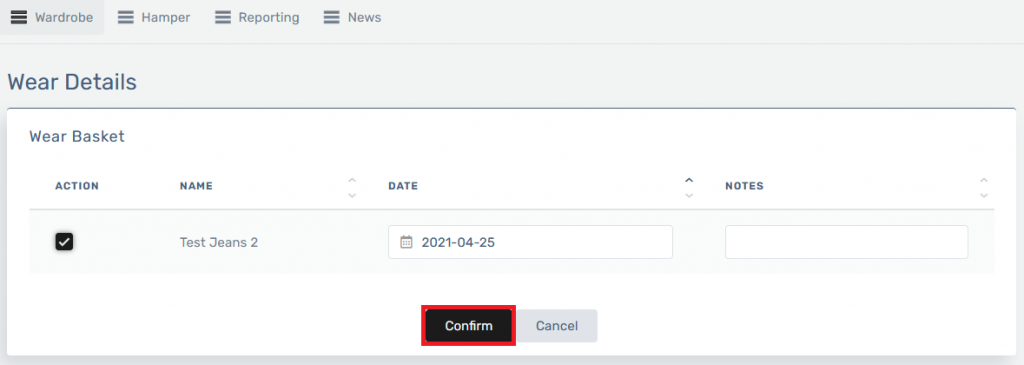
Step 4) Clicking on Wear will bring you to the Wear Details page. Here make sure the correct date of wear is selected (you can pick previous dates if you want to backfill data) and add any notes related to the wear. Once you are happy you can click on the Confirm button to confirm the wear.
NOTE: If you selected multiple products and some were selected by mistake, you can unselect them by unticking their rows in the Action column. They will not be counted when you click on Confirm.
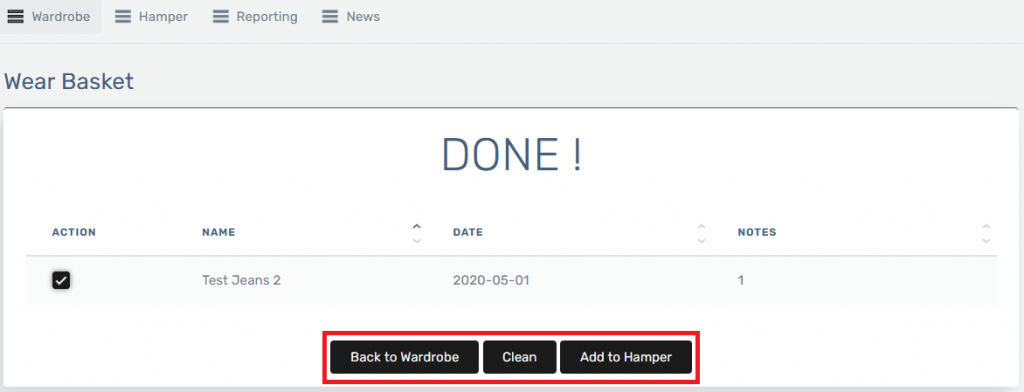
Step 5) That’s it! A Wear has successfully been recorded!
Now just pick the required option at the bottom of the page to take you to the relevant page.
i. If you are going to clean the product at a later date, click on the Add to Hamper button. This will start the Add to Hamper process, where the cleaning method you set in Step 2 is the default hamper selected.
ii. If you are going to clean it straight after the wear, click on the Clean button. This will start the clean process that’s exactly like the Wear process we’re just running through.
iii. However if you’re going to Wear the product again before another clean just click on Back to Wardrobe.
NOTE: Even if you don’t use Clean or Add to Hamper now, they are available in the main Wardrobe screen and can be accessed by just selecting the row and clicking the required button.
We use cookies on our website to give you the most relevant experience by remembering your preferences and repeat visits. By clicking “Accept”, you consent to the use of ALL the cookies.
This website uses cookies to improve your experience while you navigate through the website. Out of these, the cookies that are categorized as necessary are stored on your browser as they are essential for the working of basic functionalities of the website. We also use third-party cookies that help us analyze and understand how you use this website. These cookies will be stored in your browser only with your consent. You also have the option to opt-out of these cookies. But opting out of some of these cookies may affect your browsing experience.
Necessary cookies are absolutely essential for the website to function properly. These cookies ensure basic functionalities and security features of the website, anonymously.
Cookie
Duration
Description
cookielawinfo-checbox-analytics
11 months
This cookie is set by GDPR Cookie Consent plugin. The cookie is used to store the user consent for the cookies in the category "Analytics".
cookielawinfo-checbox-functional
11 months
The cookie is set by GDPR cookie consent to record the user consent for the cookies in the category "Functional".
cookielawinfo-checbox-others
11 months
This cookie is set by GDPR Cookie Consent plugin. The cookie is used to store the user consent for the cookies in the category "Other.
cookielawinfo-checkbox-necessary
11 months
This cookie is set by GDPR Cookie Consent plugin. The cookies is used to store the user consent for the cookies in the category "Necessary".
cookielawinfo-checkbox-performance
11 months
This cookie is set by GDPR Cookie Consent plugin. The cookie is used to store the user consent for the cookies in the category "Performance".
viewed_cookie_policy
11 months
The cookie is set by the GDPR Cookie Consent plugin and is used to store whether or not user has consented to the use of cookies. It does not store any personal data.
Functional cookies help to perform certain functionalities like sharing the content of the website on social media platforms, collect feedbacks, and other third-party features.
Performance cookies are used to understand and analyze the key performance indexes of the website which helps in delivering a better user experience for the visitors.
Analytical cookies are used to understand how visitors interact with the website. These cookies help provide information on metrics the number of visitors, bounce rate, traffic source, etc.
Advertisement cookies are used to provide visitors with relevant ads and marketing campaigns. These cookies track visitors across websites and collect information to provide customized ads.